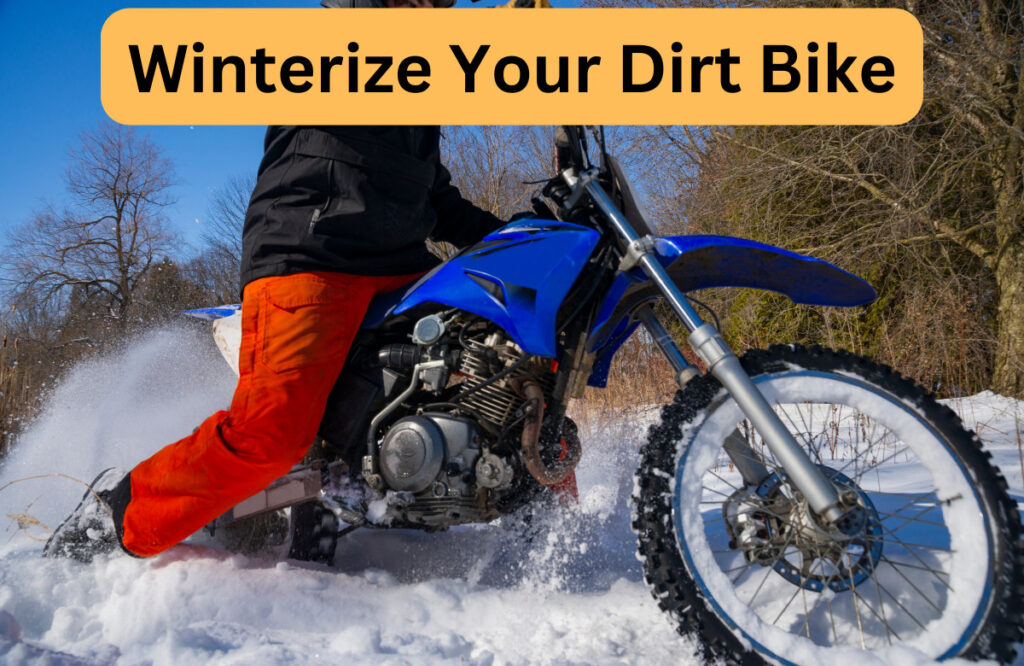
How to Winterize A Dirt Bike – 9 Simple Steps to Do at Home
If you wish to see your dirt bike in smooth condition, the one thing that is required is legitimate maintenance. Without care and proper maintenance, it is sad to see your dirt bike causing trouble next season. Well, it is not just an illusion but a reality to witness and enjoy. With the help of modern technology and some amazing techniques, you can learn how to winterize a dirt bike in minutes.
For this purpose, all dirt bike lovers should spare some time and winterize their bikes on time. The process of winterization lasts from minutes to days depending on the tips and tricks. As we have winters and summers taking turns, it is essential to keep this factor in mind. If you love to see your dirt bike running smoothly on roads no matter what the weather condition is, work on it. Working on it means spending time on cleaning and winterization.
How to Winterize your Dirt Bike
The fact that people stuff their dirt bikes in the garage and never look back is a major contributor to damage and losing the charm of a dirt bike after one season. On the other hand, winterization ensures that your bike looks up to the minute as long as you pay attention to it. Now, the question is how to winterize a dirt bike in less than 10 minutes. For this purpose, read this article, and follow these tips step-by-step
Stabilize the gas tank
Before you start the process of winterization, stabilize the gas tank. For this reason, put fuel
stabilizer in the gas tank, and bring the bike on the road for two minutes. Get a good quality stabilizer from the market, and use it according to the directions. If you are a newbie, and
If you have no idea how to stabilize a gas tank, don’t panic and take a deep breath. Do it smartly and read all the instructions. Follow the step-by-step guide on the bottle and stabilize it accordingly.
When you follow the precautionary measures, the stabilizer reaches all parts of the engine. The next step is to run your bike on the road. For the next two minutes, run your bike. It helps the stabilizer reach all engine parts.
Most people forget to run the engine and leave the material in gas tanks for next
season. It is a common practice and is harmful in all ways. When you run the Dirt bike for two minutes it heats the engine, and the gas runs through all parts.
So, as soon as you fill the gas tank with a stabilizer, heat the engine, because that is further helpful in oil change.
Charge the bike battery
The second step of winterization is charging the bike batter. For this purpose, remove the battery, and let it charge on a smart charger. Using a smart charger not only saves your time but also the cost.
Most people prefer a trickle charger for this, as it is both smart and cost-effective. When you put
The battery on charge prevents you from buying a new one every time you do winterization.
Charging your battery on time increases its life, and keeps it in good condition. Some of the dirt
bike users charge the battery without removing it, and in this case, all the energy gets drained with time.
The best way to charge a dirt bike battery is to remove it and leave it until it gets full. Once you are done putting it back, ride your bike next season with a full battery.
Turn off the gas tank
Once you heat up the engine, it is time to turn off the gas. Use the silver selector switch, and move it to the left side. The gas tank gets off, and it prevents leaking and evaporation.
If you neglect this step, all the gas evaporates or either gets leaked as soon as winter arrives. So, by the end nothing is left, and the tank remains empty.
Change the oil and oil filter
Changing the previous oil with new is necessary because the old dirty oil is at risk of contamination. So to To avoid contamination, change it with a new one.
The best time to change the old oil with new is after turning off the gas tank. There is a complete theory behind this process like, why should you change, what are the hazards of keeping old oil in the engine, and much more.
Long story short, putting new oil in the bike keeps the engine, and the rest of the parts away from erosion. While changing the oil, also change the oil filter because an old corroded oil filter is as dangerous as an old dirty oil.
Change the oil filter, and let all the polluted items out once. When you are changing the oil and filter, keep in mind that they are rated, and not of poor quality. All the rated oil and filters are specifically formulated for Dirt bikes because of the quality, and requirements.
Dirt bikes are different from regular bikes as they heat up in no time, and are sensitive in terms of oil quality. So, get the special-rated oil for your dirt for an oil change, and other stuff.
Once you complete the task of the oil change, tighten the bolts with care and safety. The rubber gasket is fragile and must be handled with care. Tight it cautiously while using the required tools like a torque wrench.
Wash the dirt bike
After placing a new oil and filter, wash the dirt bike carefully. Washing helps remove all the mud, dirt, sticky plastic, and other objects that make the bike look untidy.
Sometimes the season sticks to your bike’s plastic and makes it look dirty. To remove such substances, wash them under certain water pressure, and free them from mud and other sticky materials.
After a good wash, use a towel to wipe all the water spots.
Lube the chain
Whenever you wash a dirt bike, the chances of erosion increase. In most cases, it is the chain
that gets rusted. So, it is compulsory to lube the chain, and other sensitive parts soon after a water wash.
When you lube the chain, the chances of rusting decrease, and your bike stays in good condition. While you lube the chain, keep it generous because overdoing is also a matter of concern.
Do it generously, and let not the lube drip everywhere you go or put your bike.
Check the tire pressure
After doing a skilled wash, check the tire pressure. The normal tire pressure for a dirt bike is 15 pounds, but it can vary from bike to bike. The tire pressure depends upon two things: one is the type of tire, and the other is the style of riding.
So, when you check the tire pressure keep in mind both factors and ensure a perfect tire pressure. If it is less, add some more to reach the optimum level, and if it is more, deflate your tire a little.
Maintain optimum tire pressure for smooth running.
Store the bike on a stand
The best way to store a bike is to bring it off the ground. For this purpose, keep it on the stand instead of the ground. When you let the tires touch the ground all the time, suspension pressure is always there.
To remove suspension pressure, put your Dirt bike in a neutral position, and store it on the stand. It also prevents the tire from deforming, as there is no direct pressure on one side of the bike.
Cover the bike
The last step of winterization is coverage. It is as vital as any other step because when you let your bike face the weather, dirt, and other environmental hazards, there is no chance you ride a dirt bike the way you used to in the previous season.
So, toss a cover, and protect your bike from dust, storms, and also the eye of thieves. Cover it fully, and do not expose any area of the bike to the world.
When you advertise your dirt bike to thieves, and other people passing by your garage, you put your bike at risk. The best way is to cover it with a cloth or any other covering material.
All these steps take less than 10 minutes if you learn the art of how to winterize a dirt bike. They are as simple as possible, so follow them to protect your Dirt bike for next summer.