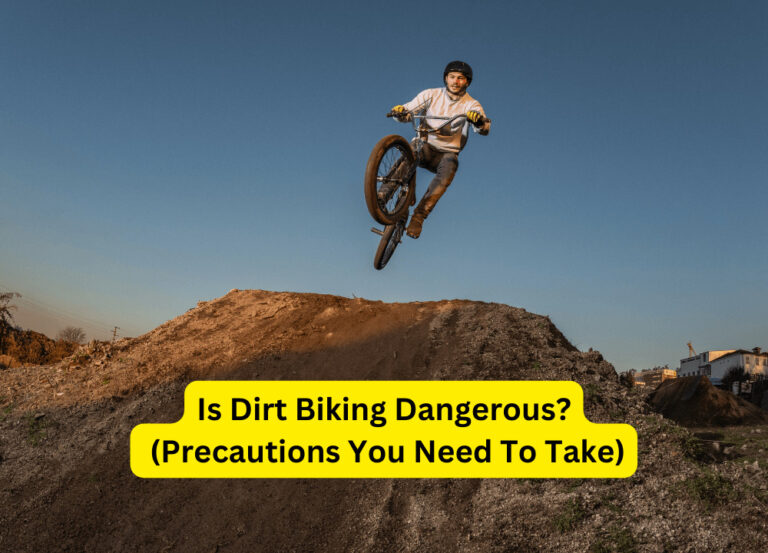
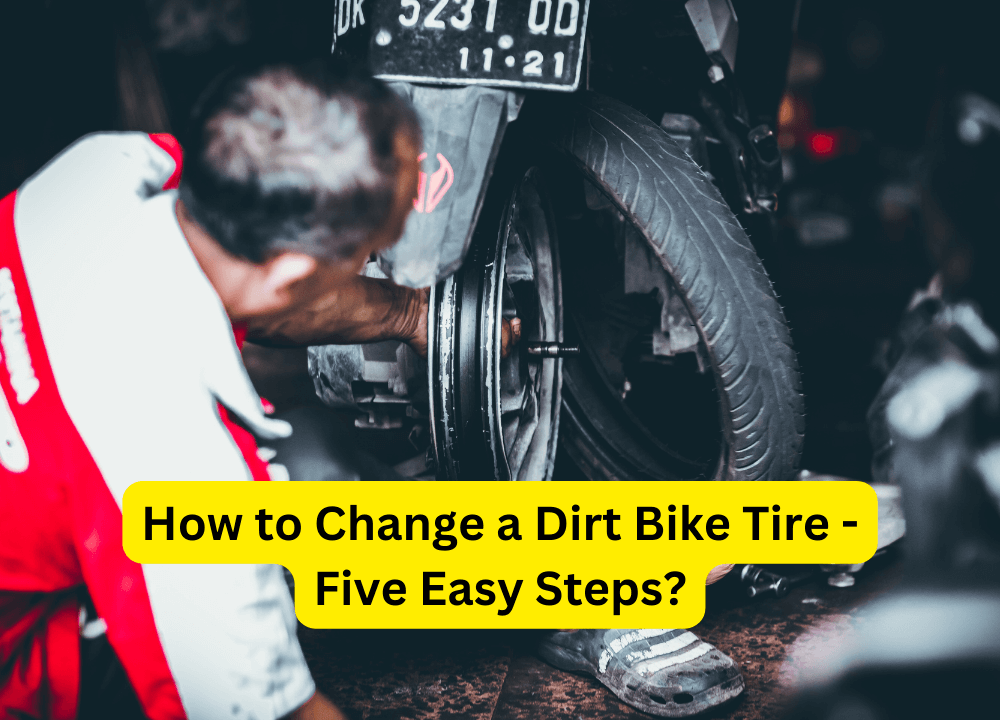
How to Change a Dirt Bike Tire – Five Easy Steps?
Well, it is a technical process and to get all the information related to this process, you are at the right place. Changing a dirt bike tire is a challenge at first few tries, but with experience and proper guidance, you can learn the art of how to change a dirt bike tire in days.
Before we jump into the process, you should know the difference between a dirt tire and a normal tire. Dirt tires are more convenient, relatively inexpensive, and easy to access.
People who use dirt bikes will agree that they are affordable and their technician’s services are also inexpensive. If you think a lot about how to change a dirt bike tire with no prior experience, you must know that you can learn this art in the first go. Furthermore, if you have a friend’s assistance and some tools, the whole swapping process of a dirt bike tire is a piece of cake. We all know that taking an initiative is always the first stumbling block, but it is also the last one if someone takes the courage to cross it.
So, before you make up your mind to learn how to change a dirt bike tire, tell yourself that it is just a challenge and just go for it.
Five Easy Steps to Change a Dirt Bike Tire
Here are the five easy steps to change a Dirt bike tire
Collect your tools
The first step in swapping a dirt tire is to equip yourself with all the necessary tools. Some of the tools that you must have are tire spoons, a plastic hammer, a wrench, a spray bottle, a 5-gallon bucket, and of course a new tire and tube.
If you have all of the above-mentioned tools, you can successfully change the tire with minimum effort. If you want to take changing dirt tires to the next level, purchase tire lubricants, tire stands, and valve care removers for professional tire-changing services.
These tools are not compulsory, but you can purchase them for your comfort because they are assistance tools that minimize your labor on the spot. For example, a tire stand is not a necessary tool, but it can assist in changing tires on the road.
If you want to unscrew the rim lockout, you must appreciate a wrench for it. An appropriate wrench not only saves your time but also your energy and effort. When it comes to tire spoons, two are enough, but a third one helps you manage things more comfortably.
Unfasten the old tire
The first step to changing a dirt bike tire is to get rid of the old one. Once you remove the old one, you get a vacant space for a new and healthy tire. Now the question is how to remove an old tire,
Well, the answer is non-theoretical but easy to understand. For removing an old tire, you need a bucket and a core removal tool. Use the bucket to take off the tire, and position it on the ground.
Now, hold the core removal tool in your hand, and pull the valve core out. While doing this, deflate the tire on time for a smooth process. Once you deflate, move to the next step and remove the dust seal.
As you have to remove the tube by the end, start it by removing the dust deal. For this purpose, lose the rim lock and pull out the old tube. At this stage, you need a lubricant but using soapy water can do the job.
A small amount of soapy water enters the tube so, you can use that little amount of soapy water to lubricate the edges of a tire. It will prevent damage and make it easy for you to break the bead free.
The next step of removing an old tire is to break the bead free, and you have to work your way around the tire for it. Break the bead free from the rim, using a tire spoon on the edges of a tire.
If you are successful in bead-free breaking, unseat them and flip the tire to take off all the beads. Repeat the process on different sides until you are sure that your tire is free of all the beads connected to it.
Free the old tire from the rim lock
When you free the tire from all beads, the next hard thing is to carefully take off the tire. For this purpose, use the tire spoons and put them underneath the tire on the rim. Gently remove three-quarters of the tire, and while doing this, make sure that you avoid pinching the tube.
Once you complete three quarters successfully removing the rest of the tire from the rim becomes a cakewalk. It takes strength to leverage the tire out of the rim, but you can do it with the assistance of tire spoons and soapy spray water.
Using the soapy spray water, lubricate the tire and rim both. It eventually helps you push the tire out of the rim with zero damage. Once you complete sliding the tire spoon beneath the tire, use the plastic hammer to hit the beads.
Do it like it helps you push the tire out of the rim, and you are done with the last step of taking out an old tire from a dirt bike.
Prepare the rim tape
The standard way of changing a dirt tire is to prepare your dirt wheels before you install a new tire in them. For this purpose, inspect debris and other objects like rim tape that can make the replacement process challenging for you.
If you install a new tire without removing debris or any other pinching objects, the chances of deterioration are maximum. So, to prevent a new tire from wear and tear, check the rim tape quickly and clear the way if something is present.
At this step, use soapy water to lubricate the new tire, and you can also apply baby powder to it if it is present in your tools. If you have no access to baby powder, you can use soapy water instead.
Mount a new tire
After lubricating the new tire, set it in a way that the rim and yellow dot stay in alignment. If you adjust the alignment on time, everything stays balanced, especially the tire.
To mount a new tire, set it on the rim and use the tire spoon to push it gently around the lock. Reinstall the valve core and the tube carefully to avoid wrinkles and pinching. Once you complete the reinstallation process, screw the valve stem through the rim.
Keep the valve stem straight and the yellow dot aligned to avoid tube pinching and wrinkle formation by the end of this technical process. For smooth tire mounting, use a plastic hammer and your body weight to install the tire in the rim lock.
When you reach the halfway point, add some amount of air to the tube. It will help correct the pressure, and once you are sure everything is fine, check the beads on all sides. If the tire is not sticking through and there is no other issue, move to the final step.
The final step of installing a new tire is to inflate the tire with accurate pressure and install the dust seal. When you put the valve cap on and tighten the rim lock, go for a final check. Also, make sure that the tire fits in the rim locally and that there are no wrinkles in the tube.
If you observe free water bubbles coming out, calm your nerves and don’t panic. When you use lubricants like soapy water, coming out a few bubbles is normal.
So, let them out and check the alignment once again for your satisfaction. If you observe wrinkles in a tube, during the process, deflate the tube, remove the valve core, and get it corrected.
When you are sure that everything is fine, inflate the tube again, put the valve core, tighten it, and install the dust seal again. Repeat the rest of the process, and you are good to go.
When you are mounting a new tire, there are two important things to keep in mind, number one is the alignment, and the second is the correct pressure. For alignment, keep the yellow dot lined up with the rim, and for correct pressure, check it again and again.
Conclusion
Learning how to change a dirt bike tire is not a tough job, if you get proper guidance and tools. Get both of them and enjoy the experience of changing your dirt bike tire with your own hands.